In this video, we’re going to learn how to use the lesson builder in Wonder Ink.
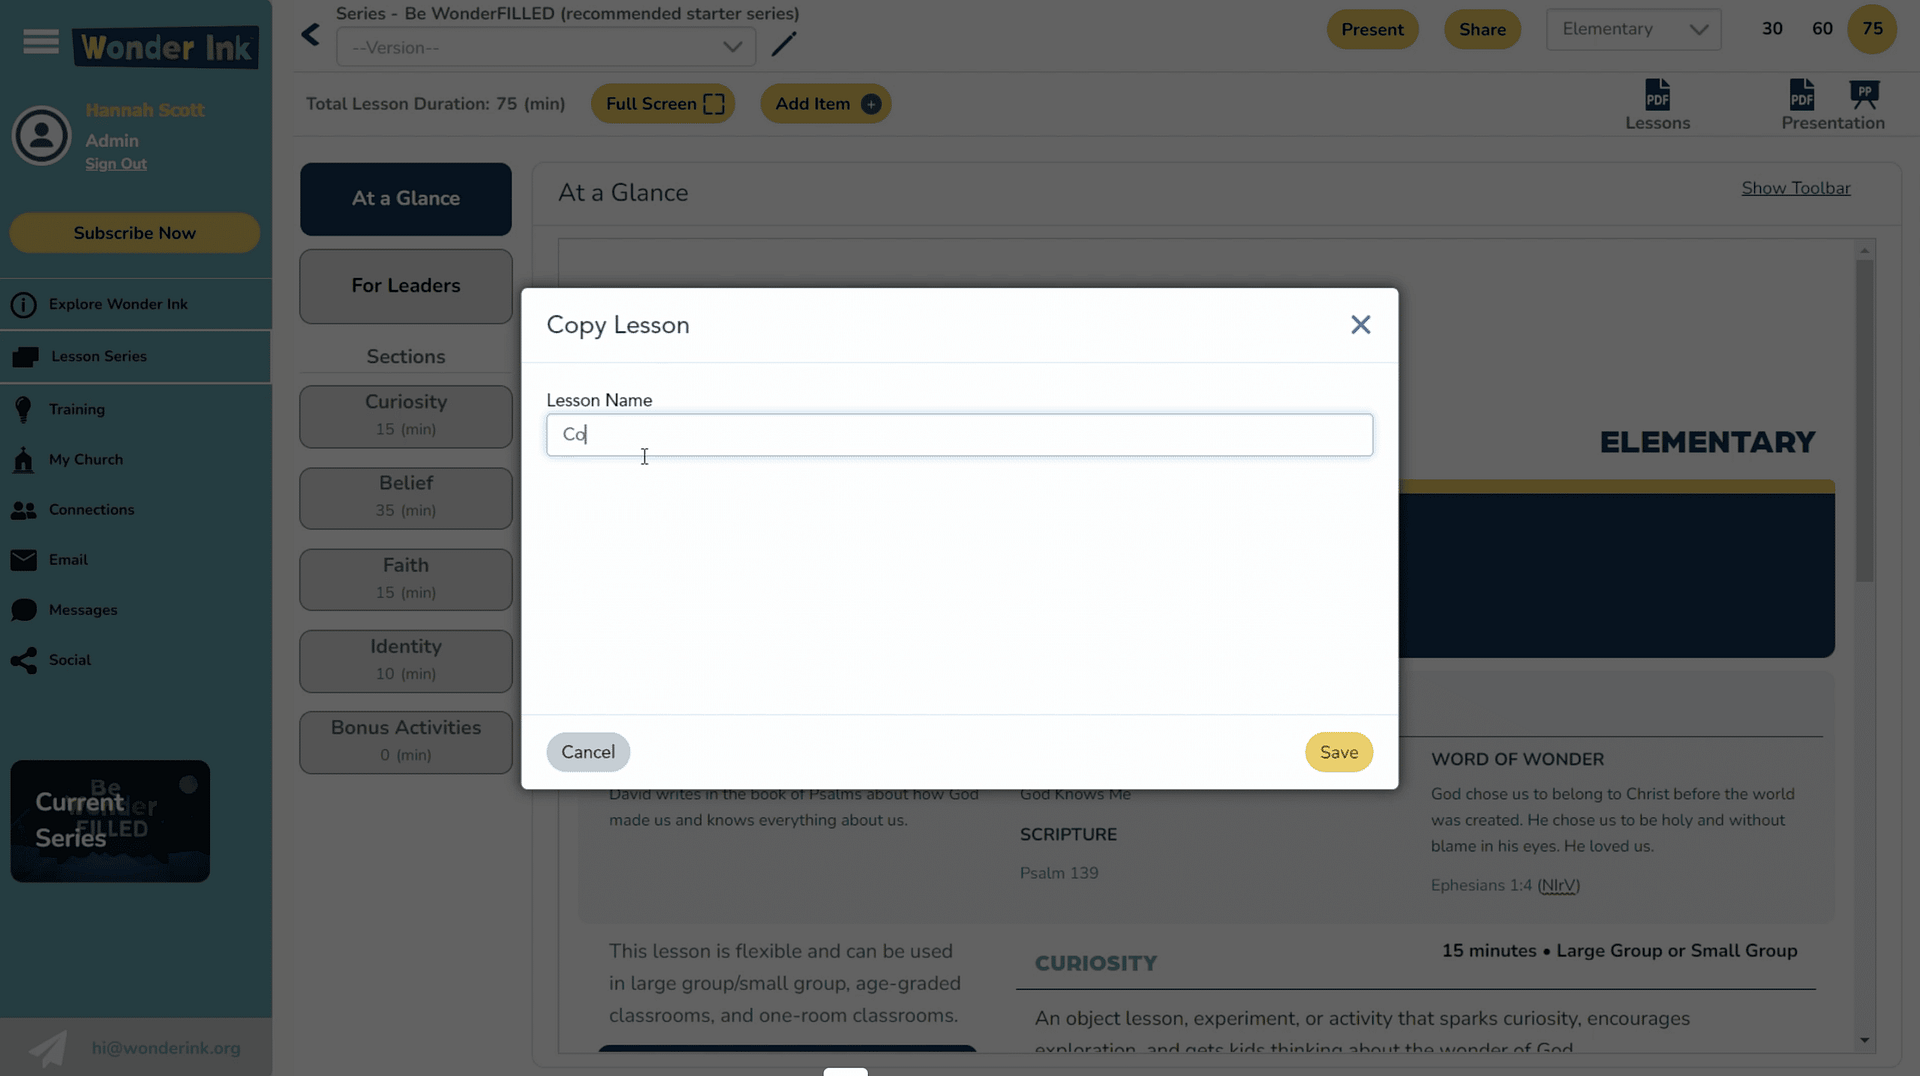
To get started in the left navigation, click on the lesson series. Click on the series you want to see. On the right side, click on lessons. If you want to tweak a lesson, make a copy of the original, then give the copy a custom name.
When you come back later to present, make sure you select your version of the lesson, then click into it. Click on “lesson.”
Step-by-Step
First, select which age group you want to see the lesson in, in the top right drop down. Then select how many minutes you have to teach the lesson. You can choose 30, 60, or 75 minutes. If you want to download the lesson or presentation in PDF or PowerPoint formats, you can click those icons. On the left there are slides under each section and each slide can be edited or rearranged.
Select how many minutes you have to teach the lesson. You can choose 30, 60, or 75 minutes.
You can edit in full screen mode if you choose to. We have the at-a-glance portion selected, and the contents are displayed in the middle. You can edit the section by adding or deleting text. Once you start to edit, Wonder Ink will prompt you to create a copy of the original lesson if you haven’t done so already. If you need more editing components, click show toolbar in the top right.
Editing & Adding Slides
Let’s click the curiosity portion of the lesson journey. On the right side, you can change the slide type and change the slide name that will appear on the left side. You can add media and edit the student view of the slide. Adjust the size of the panels by slowly dragging the divider.
If you want to add a new slide to the lesson, hover over add item. There are various slide types and the icons allow the teacher to know which slide is coming up next while presenting. Simply drag and drop the new slide where you need it.
Video Slides
Let’s add a video slide. Give the slide a title. Ensure you’re adding the slide to the correct part of the lesson journey and indicate how much time the video slide will take. You can add the video in several ways. You can upload directly from your computer, you can link to a url, or you can pull a video from the resource library.
When you’re done, go ahead and practice presenting your lesson to see how it flows.
Now you know how to use the lesson builder. Continue watching our videos that teach you how to use other features in Wonder Ink.
Watch More Orientation Videos
- How to Set Up Devices for Teaching Wonder Ink
- How to Send Emails and Messages
- Welcome to Wonder!
- How Can We Help Kids Build Identity in God’s Big Story?
- Welcome to Wonder: Platform Overview
- How to Present a Lesson
- Network and Collaboration Overview
- The Wonder Ink Scope and Sequence
- Family Portal Overview
- Signing Up for Wonder Ink as a Parent
- How to Set Up Parents and Staff on Wonder Ink
- How to Use Wonder Ink’s Calendar Feature
- Signing Up for Wonder Ink as a Church Volunteer or Staff Member
- Series and Lesson Resources: Using the Resource Library
- Live: How to Customize Wonder Ink Lessons
- Live: Setting Up and Using Technology in the Classroom
Wonder Ink’s 3-year, 52-week children’s ministry curriculum offers kids space to fully find their place in God’s Big Story. Children discover they are Known by God, Loved by Jesus, and Led by the Holy Spirit.


