In this video, we’re going to learn how to set up your devices for teaching lessons in Wonder Ink. You’ll need a laptop, HDMI cable, and a second monitor or tv.
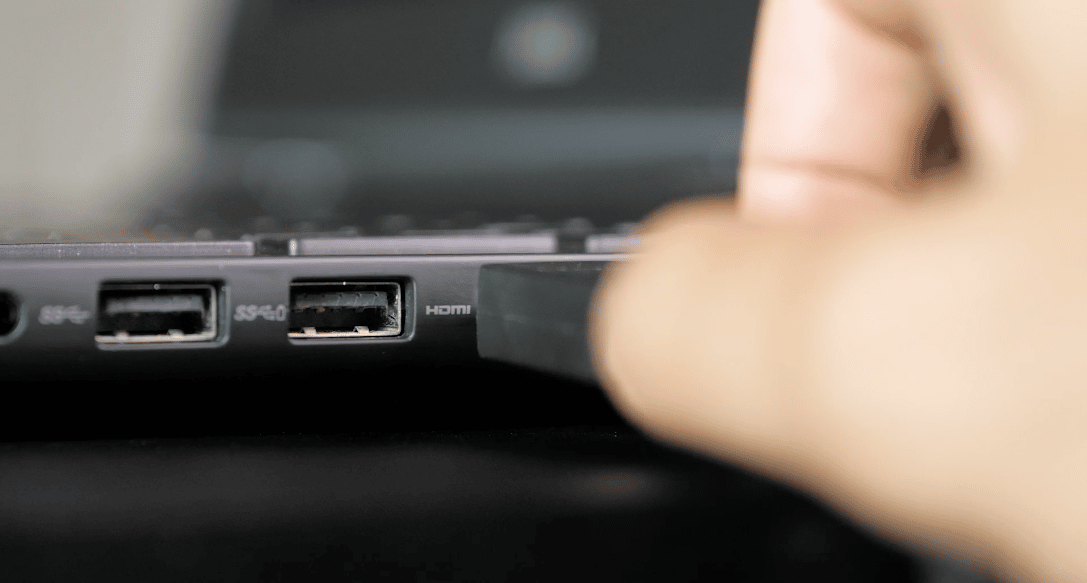
First, go ahead and plug in the HDMI cable into your laptop or desktop. If you don’t have an HDMI port on your device, use a USB to HDMI adapter or for Mac users use a thunderbolt to HDMI adapter. Then plug in the other end of the HDMI cable into your tv or monitor. On your tv, toggle through the inputs or sources until you see your laptop screen on the tv.
Then go to your laptop and open your display settings. You can search the word settings in your PC in the bottom left or on Mac search in the top right, with a magnifying glass, the word ‘display,’ then hit enter.
You’ll need a laptop, HDMI cable, and a second monitor or tv.
PC Settings
For PC, in your settings, click on system. You should see two displays in the rearrange your display section.
Go ahead and rearrange your displays in this window that’s suitable for your room setup. Then click apply. Scroll down to the bottom and under multiple displays, make sure you have ‘extend these displays’ selected. This setting allows you to drag the student view browser tab from your laptop to the tv.
Mac Settings
On a Mac, in your display settings, your laptop should have detected the tv that’s connected to it. Tab over to ‘arrangement’ and arrange your displays in this window in a way that’s suitable for you. The white bar above a display indicates which display is the primary one. You want the white bar to be over your laptop display. Make sure the mirror display box is not checked.
Presenting
Once your tv is hooked up and your settings are good, then open up your lesson in Wonder Ink that you want to present. Click present. Two new tabs will open, then drag the student view tab onto your tv. Click full screen on the student view that’s on the tv. You can control both views by clicking next on the teacher view that’s on the laptop.
Now you know how to set up your devices for teaching. Watch our other videos that show you how to use other features in Wonder Ink.
Watch More Orientation Videos
- How to Send Emails and Messages
- Welcome to Wonder!
- How Can We Help Kids Build Identity in God’s Big Story?
- Welcome to Wonder: Platform Overview
- How to Present a Lesson
- Network and Collaboration Overview
- The Wonder Ink Scope and Sequence
- Family Portal Overview
- Signing Up for Wonder Ink as a Parent
- How to Set Up Parents and Staff on Wonder Ink
- How to Use Wonder Ink’s Calendar Feature
- Signing Up for Wonder Ink as a Church Volunteer or Staff Member
- Series and Lesson Resources: Using the Resource Library
- Tips for Using the Wonder Ink Lesson Builder
- Live: How to Customize Wonder Ink Lessons
- Live: Setting Up and Using Technology in the Classroom
Wonder Ink’s 3-year, 52-week children’s ministry curriculum offers kids space to fully find their place in God’s Big Story. Children discover they are Known by God, Loved by Jesus, and Led by the Holy Spirit.


