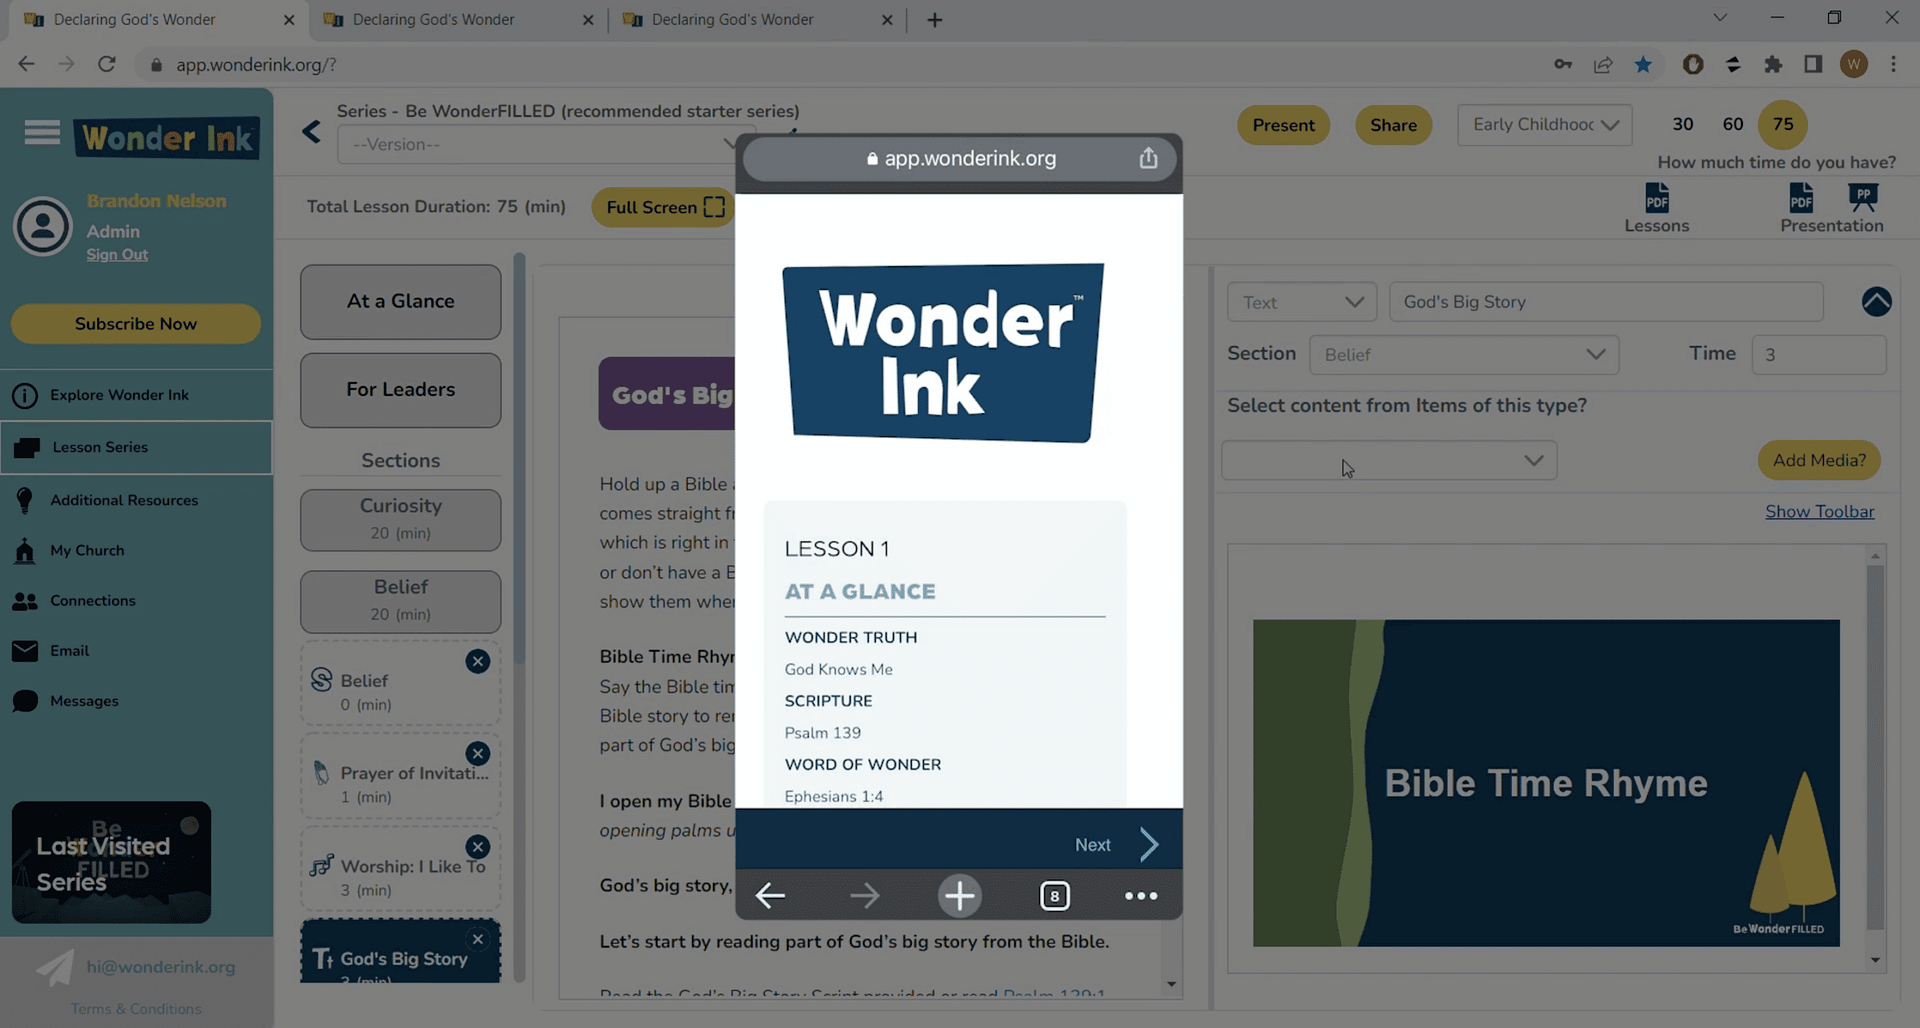
In this video, we’re going to learn how to present a lesson in Wonder Ink. To get started in the left navigation, click on series, then click on the series you’re currently on. The first page you’ll see is the series overview and invitation. This is where you can read an overview of what your students will be learning throughout this particular series.
On the right side is the scope and sequence of the series, which specifies the lesson, titles, Scriptures, wonder, truth, and word of Wonder for each lesson within the series, for both elementary and early childhood. Now click on lessons. Click on the lesson you want to present.
Selecting the Lesson
First, select what age group you’ll be teaching from the dropdown in the top right. We have tailored lessons for toddlers, early childhood, and elementary children. The next step is to select how many minutes you’ll have to teach the lesson.
In the top right, you can choose between 30, 60, or 75 minute class durations. The lesson is handcrafted to fit each time duration. Each time includes all parts of the four-part lesson journey. And all the timed lessons are equally inspiring.
Parts of the lesson will be longer or shorter depending on how much time you have. We’re currently on the lesson at-a-glance tab. Here you’ll see again the wonder truth, the Scripture, and the word of wonder. View each part of the four-part lesson, journey, the activities, games, and invitations under each part. You can also see how long each part will take depending on the size of your group.
The second tab is for leaders. In this tab we provide encouraging words for leaders based on biblical truth. On the left are each of the slides within the lesson under the four part lesson journey. The slides walk you through what to say to students and when. On the right is what the students will be seeing. To present, click on presentation.
You can choose between 30, 60, or 75 minute class durations.
Presenting
A window will appear, which advises you to turn off any pop-up blockers in your browser while using Wonder Ink. If you don’t disable pop-up blockers, then you won’t be able to see the student view while presenting. Turn off pop-up blockers. Then click present.
Two new tabs will open in your browser. The first tab is the teacher view. The left side displays all the slides in the lesson journey, and you can quickly navigate to future or previous slides if you need to. The second tab is the student view, which you can make full screen. Now, you can display the student view on a larger screen that is connected to your computer, and you can use the teacher view on your smaller screen.
Clicking next in either the teacher view or the student view will make the slide change for both views at the same time. You only have to click once. If you want the teacher view on your mobile device, click on mobile presentation. A link to this specific lesson will be sent to the email that you use to sign up for Wonder Ink. Click the link in the email and the lesson will open on your device.
Mobile Presenting
When presenting from your phone, you have to click next on both the teacher and student views because the views are not synced. When presenting on a mobile device. When you’re done presenting from your laptop or desktop, just close out the two presenting tabs in your browser.
Now you know how to present a lesson. Continue watching our videos that teach you how to use other features in Wonder Ink.
Watch More Orientation Videos
- How to Set Up Devices for Teaching Wonder Ink
- How to Send Emails and Messages
- Welcome to Wonder!
- How Can We Help Kids Build Identity in God’s Big Story?
- Welcome to Wonder: Platform Overview
- Network and Collaboration Overview
- The Wonder Ink Scope and Sequence
- Family Portal Overview
- Signing Up for Wonder Ink as a Parent
- How to Set Up Parents and Staff on Wonder Ink
- How to Use Wonder Ink’s Calendar Feature
- Signing Up for Wonder Ink as a Church Volunteer or Staff Member
- Series and Lesson Resources: Using the Resource Library
- Tips for Using the Wonder Ink Lesson Builder
- Live: How to Customize Wonder Ink Lessons
- Live: Setting Up and Using Technology in the Classroom
Wonder Ink’s 3-year, 52-week children’s ministry curriculum offers kids space to fully find their place in God’s Big Story. Children discover they are Known by God, Loved by Jesus, and Led by the Holy Spirit.


