
Keeping kids engaged week after week can be tough, but the secret to impactful lessons isn’t just great storytelling—it’s interactive learning! When kids move, create, and play, biblical truths actually stick. Hands-on children’s ministry activities help bridge the gap between simply hearing a Bible story and truly experiencing God’s Word.
These games, STEM experiments, activities, memory verse activities, and worship response ideas are easy to prep and do with kids of any age. They’re perfect for Sunday school, children’s church, or midweek gatherings. Instead of starting from scratch each week, use this guide to find practical children’s ministry ideas that point straight to Jesus:
- Active Game & Challenge Ideas for Kids’ Ministry
- Interactive STEM & Worship Response Activities
- Children’s Ministry Activity FAQ
- Free Resources For More Memorable Lessons
For more details and engaging lessons to help kids grow in their faith, check out the Wonder Ink curriculum. We celebrate the wonder of God through a four-part journey: curiosity, belief, faith, and identity. In the meantime, read on to discover our favorite low-stress, high-impact children’s ministry ideas to help kids find their place in God’s Big Story.

Key Takeaways
- Kids learn best by doing. When physical movement and hands-on discovery are paired with a lesson, abstract biblical truths stick long after Sunday school is over.
- The most memorable activities often use everyday, budget-friendly items (like paper bags or bubbles) to illustrate God’s unchanging nature and save volunteers time.
- Whether it’s an active game or a quiet STEM experiment, the ultimate goal is always to anchor the fun to a specific, gospel-centered lesson.
- Collaborative games help kids and leaders build meaningful relationships, while take-home worship crafts (like Promise Bags) equip kids with practical faith tools to use throughout the week.
Active Game & Challenge Ideas for Kids Ministry
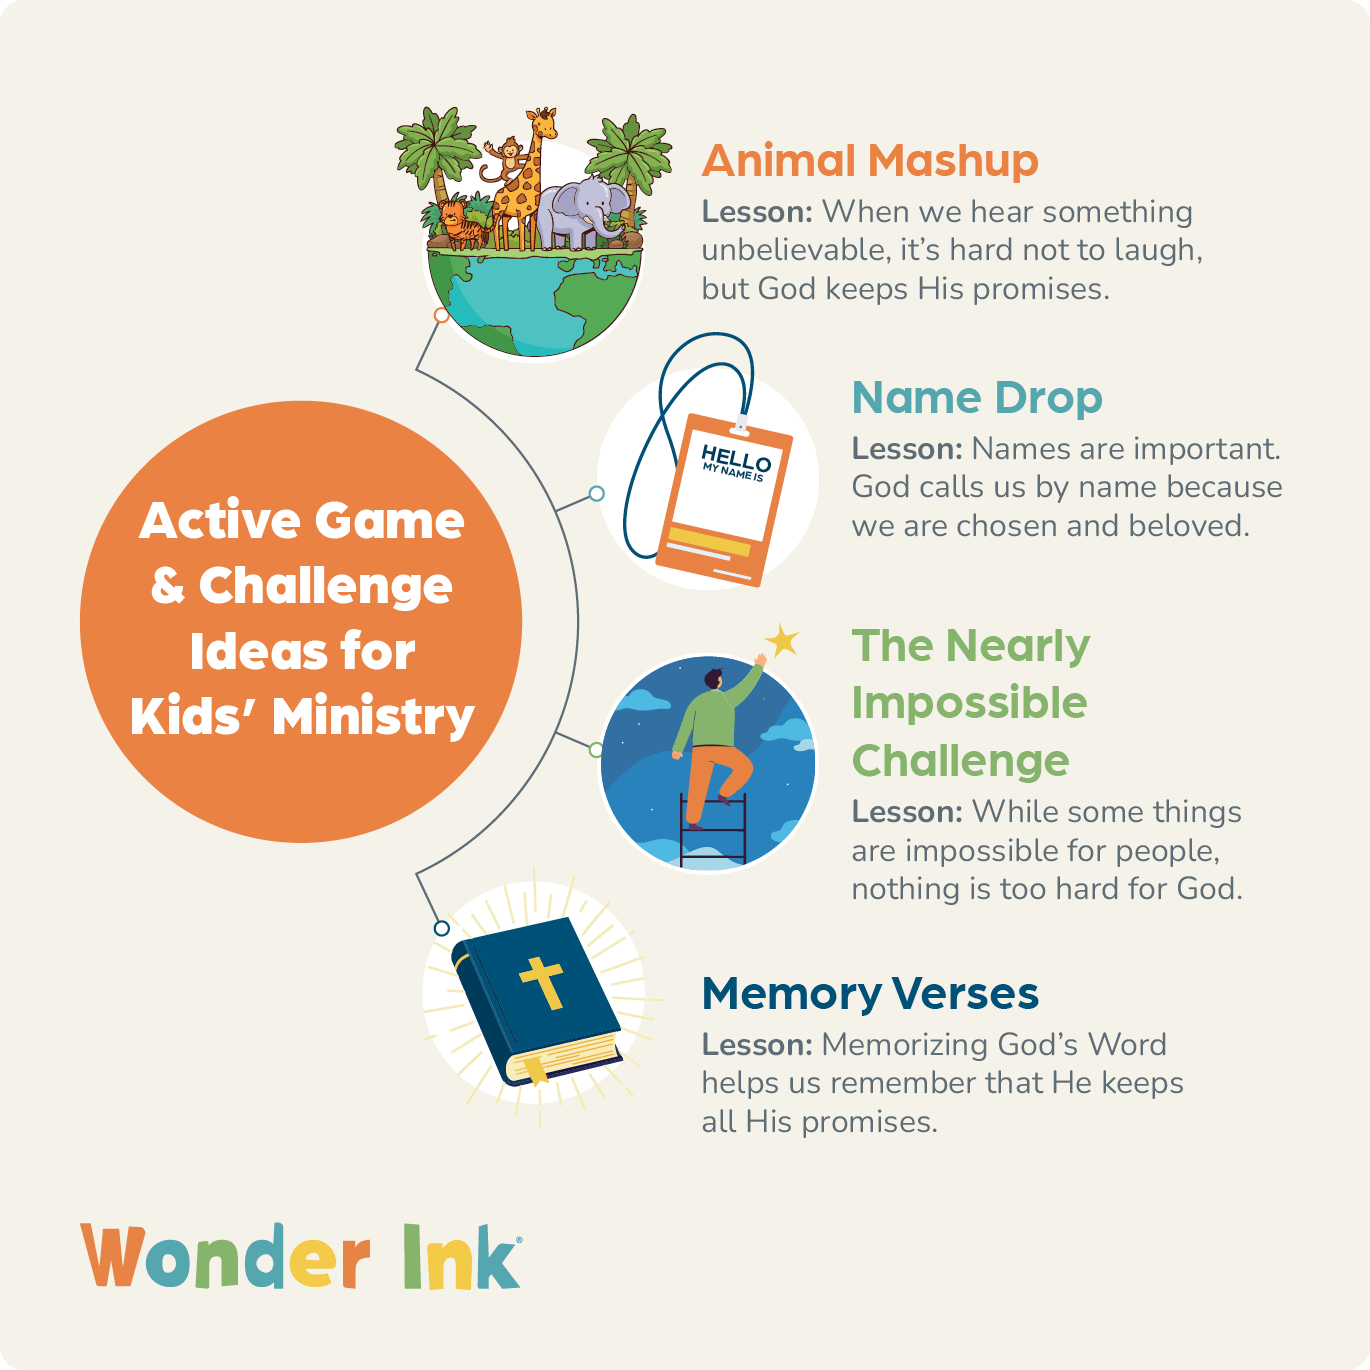
1. Game: Animal Mashup
Prep Time: Under 5 minutes
Supplies Needed: Two colors of paper cut into slips, a basket
Main Lesson: When we hear something unbelievable, it’s hard not to laugh, but God keeps His promises.
In this children’s ministry activity, you’ll divide the kids into two teams. To split them up, you might cut two colors of paper into slips, put an equal number of each color in a basket, and have each kid pull out a slip with his/her eyes closed to choose a team. Invite the teams to stand on opposite sides of the room, facing each other.
Explain that you’ll call out two types of animals. Everyone on Team A will act like the first animal while making the sound of the second animal. If you’re physically able, demonstrate this by galloping like a horse while meowing like a cat, or invite another leader to demonstrate!
Team B will watch Team A and try not to laugh. Anyone who laughs must do five jumping jacks at the end of the round (or another simple action, such as jumping up and down). Then, teams will swap roles, with Team B acting and sounding like two different animals while Team A tries not to laugh. Play several rounds to give both teams equal opportunities to act and watch.
Gather kids together and say, “Great job mashing up those animals and trying not to laugh! Sometimes when we see or hear something so funny or unbelievable, it’s hard not to laugh. That might be how Sarah felt when God told her she was going to have a baby when she was too old to have babies. The Bible tells us Sarah laughed when she heard she was going to have a baby at her age. But sure enough, God kept His promise, and she gave birth to Isaac. God keeps His promises!”
Animal ideas to get you started: dog, elephant, pig, fish, cow, chicken, horse, donkey, duck, mouse, cat.
Tip for Using This Activity With Younger Kids: Acting like one animal while sounding like another might be too challenging for younger kids or children with learning challenges. As needed, invite kids to choose either animal to act and sound like.
2. Game: Name Drop
Prep Time: Under 5 minutes
Supplies Needed: Large flat bedsheet, 2 chairs or stepstools (optional)
Main Lesson: Names are important. God calls us by name because we are chosen and beloved.
Gather the kids and have everyone take turns introducing themselves. Encourage them to listen carefully, because they’ll need to remember names for this children’s ministry game!
Divide the group into two teams and have them sit on opposite sides of the room. Ask two leaders to hold up the bedsheet between the teams so it completely blocks their view of one another. Leaders can stand on chairs or stepstools if needed.
Point to invite one kid from each team to stand and face the sheet. Remind the rest of the room not to say their names out loud! Explain that after you count to three, the leaders will drop the sheet, and the two standing kids will try to say each other’s names as quickly as possible. The first person to say the other’s name wins! The winner remains standing as the sheet goes back up, and the leader selects a new opponent to compete. Play multiple rounds as time allows.
Gather the kids back together and say, “Wow! Good job remembering each other’s names! Names are important, and when God looks at each of us, He sees who we truly are—chosen and beloved—and He calls us by name!”
Tip for Using This Activity With Younger Kids: Lessen the pressure of the game by having two kids from each team stand on each side of the sheet. When the sheet drops, each pair can work together to remember the names of the people facing them.
3. Interactive Activity: The Nearly Impossible Challenge
Prep Time: Under 5 minutes or 20 minutes for slide creation
Supplies Needed: Presentation slides displaying the challenges (optional)
Main Lesson: While some things are impossible for people, nothing is too hard for God.
Announce that you are going to play “The Nearly Impossible Challenge.” Explain that the goal isn’t to do everything perfectly, but to have fun trying and to laugh!
Explain the first challenge. Try doing it yourself (if physically able) and encourage the kids to try as well. If anyone can successfully complete it, invite them to the front to show the group! Advance through all eight challenges and use slides to display the current one, pausing to let everyone attempt these silly feats.
The 8 Challenges:
- Touch your tongue to your nose.
- Tap the top of your head with one hand while rubbing your belly in a circular motion with the other.
- Raise one eyebrow.
- Wiggle your ears (without touching them).
- Lick your elbow.
- Curl your tongue.
- Hold both feet and jump over an imaginary line on the floor.
- Sit on the floor with both legs stretched out in front of you. Then, stand up without using your hands.
Gather the kids and say, “Wow, those challenges were difficult! In fact, some of them were not possible for most humans. Even with a ton of practice, we couldn’t do them. The only option is to laugh at ourselves! But while some things are impossible for people, nothing is too hard for God. That means when God makes a promise that seems impossible, we know He will keep it!”
Tip for This Children’s Ministry Activity: Kids will feel much more comfortable being silly if they see their leaders trying (and failing!) the challenges right alongside them.
4. Interactive Activity: Memory Verses
Prep Time: Under 5 minutes
Supplies Needed: Bibles, beanbags or tennis balls (1 per small group)
Main Lesson: Memorizing God’s Word helps us remember that He keeps all His promises.
Open your Bible to Psalm 90:2 (or your current weekly memory verse) and read it several times together as a group.
Next, gather the kids in a circle for a practice game. Explain that when the beanbag or tennis ball is tossed to them, it will be their turn to recite the Bible verse. Ask the kids to say as much of the verse as they can remember. If they get stuck, they can simply pass the beanbag to a friend for help!
Keep tossing the beanbag until every kid has had a chance to say the memory verse. Reassure the group that it’s perfectly alright if they can only remember one or two words before passing the beanbag. The goal is to have fun repeating God’s Word and to work together as a team!
At the end, tell the kids, “Great job working together as a team! Repeating God’s Word is a great way to praise Him. Memorizing verses like this helps us remember that just like God kept His promise to Abraham, He keeps all His promises to us, too!”
Tip for This Children’s Ministry Activity: For extra fun and engagement, suggest kids do silly physical challenges while saying the verse. Have them jump up and down, stand on one foot, or speak in a funny voice while holding the beanbag!

Interactive STEM & Worship Response Children’s Ministry Activities
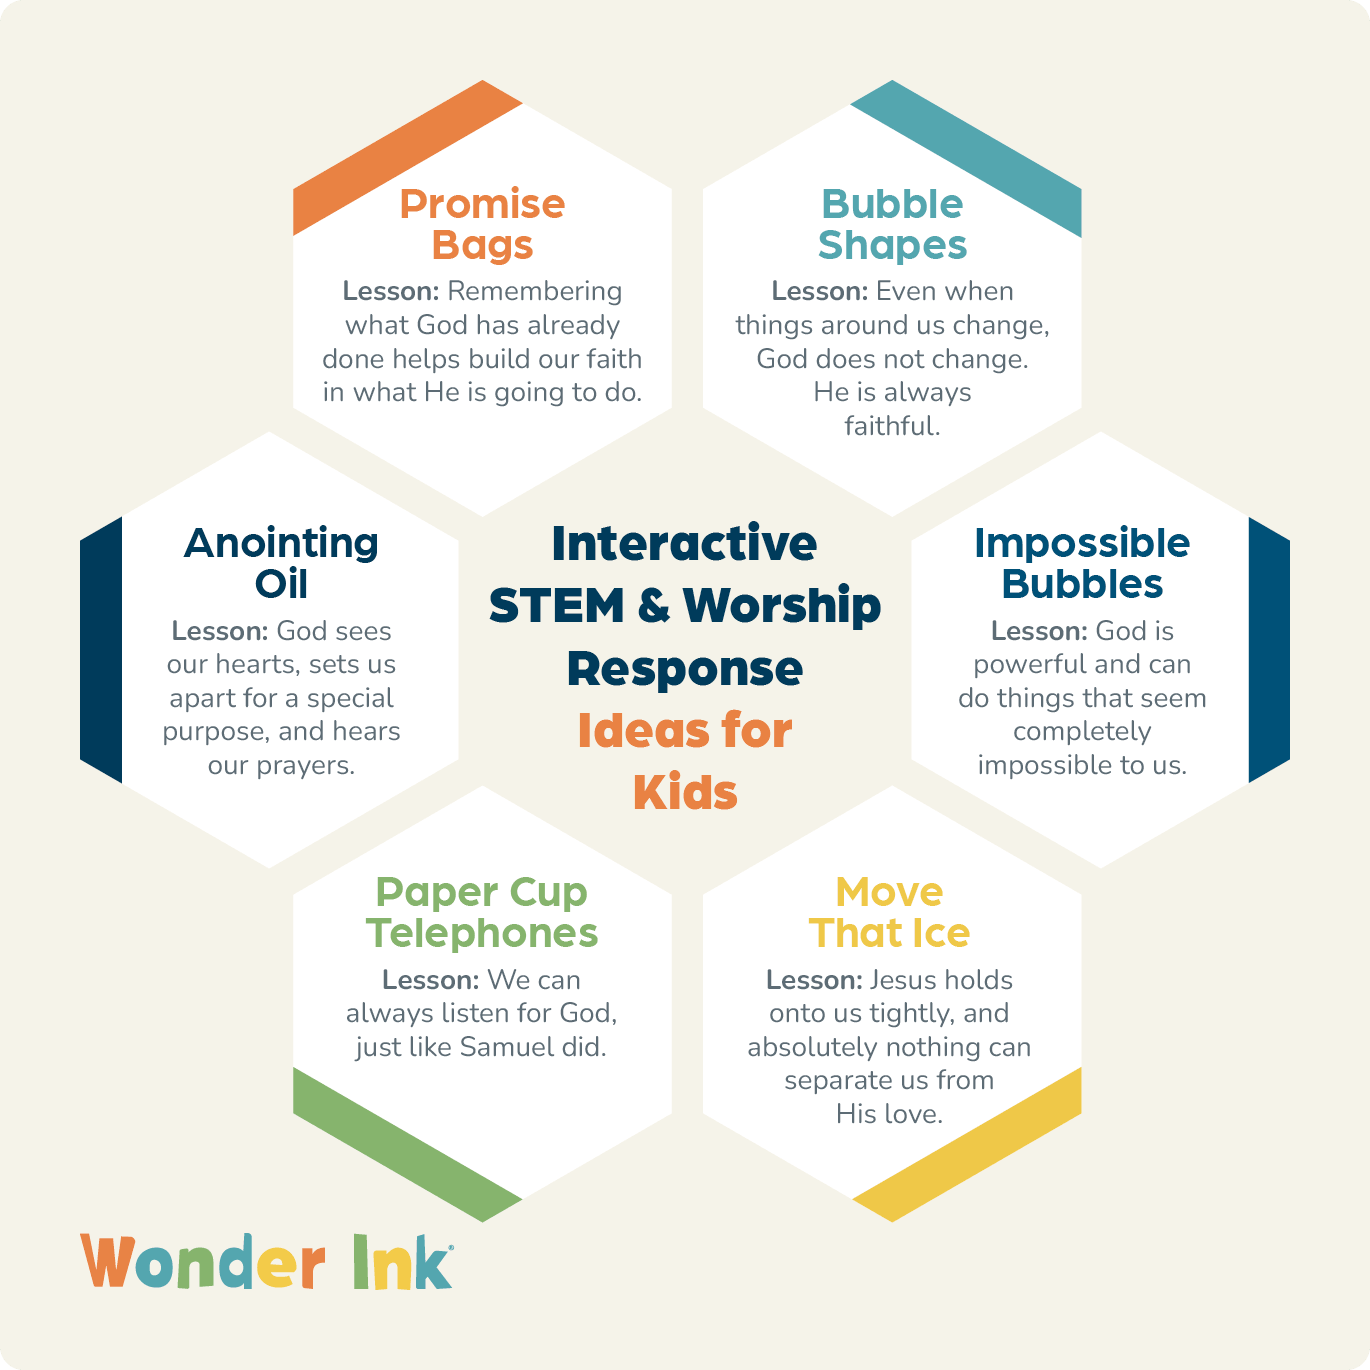
5. Worship Response: Promise Bags
Prep Time: Under 5 minutes
Supplies Needed: Bibles and paper lunch bags (1 per kid), note cards (5–6 per kid), coloring utensils, stickers (optional)
Main Lesson: Remembering what God has already done helps build our faith in what He is going to do.
Gather the kids in a circle and remind them of the story of Abraham and Sarah. God promised them a big family many years before Sarah gave birth to Isaac! Ask the group:
- “Do you think they ever felt sad, discouraged, or like God had forgotten about them while they were waiting on God’s promise to be fulfilled?”
- “What do you think they might have done to stay encouraged and not give up on God’s promise?”
Give each kid a paper bag and place the coloring utensils and stickers in the center of the circle. Have them write their names on the back and decorate the bags with pictures that remind them that God is always faithful. Encourage kids to have fun while decorating and to talk with each other about promises God made in the Bible and in their lives. Play worship music as kids work.
Next, give each kid 5–6 note cards. Invite them to draw or write down promises God has already answered in their lives, praises to God, or a favorite Bible verse. Invite three kids to read a verse aloud, so others can copy those verses onto their cards if they get stuck.
As the kids finish up, say, “Wow, what beautiful bags! Let’s place our note cards inside and take our Promise Bags home to set somewhere we will see often. The next time you are worried or upset, reach into your Promise Bag and pull out the pictures and encouraging words inside. Let them remind you of what God has already done and build your faith in what He is going to do. God always keeps His promises!”
Tip for This Children’s Ministry Activity: Play calming worship music in the background while kids decorate and write. This helps keep the room focused and creates a reflective environment.
6. STEM Experiment: Bubble Shapes
Prep Time: 5 minutes
Supplies Needed: Bubble solution, bubble wand, various small cookie cutters, shallow dish or container.
Main Lesson: Even when things around us change, God does not change. He is always faithful!
Pour the bubble solution into the shallow dish and invite the kids to gather around while you blow bubbles using a regular wand. Ask the group, “What shape are the bubbles?” Allow time for them to answer that the bubbles are all round.
Next, hold up one of the cookie cutters. Ask, “Do you think the bubbles will still be round if we use a different-shaped bubble blower like this?” Allow the kids to shout out their guesses!
Dip the cookie cutter into the shallow dish of solution and blow through it. Show them that the bubbles are still round! Let the kids try as many different shapes as they would like, as time allows.
Gather the kids and say, “No matter what shape the bubble blower is, the bubbles are always round! We can count on bubbles to be round. We can also count on God to be faithful because He always is. Even when things around us change, God does not change. God is faithful! We’ll learn more about that in God’s big story today.”
Tip for This Children’s Ministry Activity: Pause to ask prediction questions before blowing bubbles through the cookie cutters. This engages their critical thinking and builds anticipation for the result!
7. STEM Experiment: Impossible Bubbles
Prep Time: Overnight (for the bubble solution)
Supplies Needed: Spray bottle with water, disposable straws (1 per kid), flat table, towels, regular bubble solution & wand. For homemade solution: Bowl, spoon, warm water (2 cups), sugar (2 Tbsp.), blue liquid dish soap (4 Tbsp.).
Main Lesson: God is powerful and can do things that seem completely impossible to us!
Ahead of time, make the Impossible Bubble solution for this experiment by adding two tablespoons of sugar to two cups of warm water (distilled water works best) in a bowl. Then, mix with a spoon until the sugar dissolves. Add four tablespoons of blue liquid dish soap to the solution. Mix gently to avoid creating bubbles or foam. Cover the solution with plastic wrap and allow it to sit at room temperature for a few hours. Overnight is optimal.
If you’re a visual learner, check out this video demonstration:
Gather the kids and blow a few regular bubbles using the store-bought wand. Ask the group to use gestures to show the biggest bubble they’ve ever blown. Then ask, “Do you think it’s possible to blow a bubble as big as a skyscraper? How about a bubble inside of another bubble? It sounds impossible, but let’s find out!”
Demonstrate the following steps for the kids:
- Spray the table with a thin layer of water.
- Dip one end of a straw into your homemade bubble solution. Set the wet end of the straw directly onto the table and blow to form a dome-shaped bubble.
- Gently remove the straw, dip it back into the solution, and carefully insert the wet end through the dome bubble (staying above the table’s surface).
- Blow into the straw to form a new, smaller bubble inside the original one!
Give each kid a clean straw and let them try. Coach them to blow out, not suck in. For an added challenge, see if anyone can blow a bubble within a bubble within another bubble!
At the end of this children’s ministry activity, say, “We just did something that sounded almost impossible—we blew a bubble within a bubble! Do you know what made this possible? It was actually the water we sprayed on the table ahead of time. God is the One who can do anything—even things that seem absolutely impossible! God is powerful!”
Tip for This Children’s Ministry Activity: If your group and space are large, prepare multiple stations with a set of supplies at each table. Assign kids to a station and have a different leader demonstrate the experiment at each one to ensure everyone gets a good view.
8. STEM Experiment: Move That Ice!
Prep Time: Under 5 minutes
Supplies Needed: Twine (cut into 6″ pieces), bowl of ice cubes, table salt (in shakers)
Main Lesson: Jesus holds onto us tightly, and absolutely nothing can separate us from His love! We can share God’s love with others.
Ahead of time, decide whether you will provide materials for kids to pair up and do the experiment themselves, or demonstrate it while the kids watch. To prepare, cut the twine into 6-inch lengths, one for everyone doing the experiment. Keep the ice cubes in a freezer or cooler until the activity begins so they don’t melt too early.
Gather the kids, hold up an ice cube, and ask, “What do you know about ice?” After they share, set the ice cube on the table and ask, “Do you think it’s possible to move this ice cube without touching it? How?”
Challenge the kids to figure out how to move the ice cube using only a piece of twine and some salt. Hand one ice cube and a piece of twine to each pair of kids, and give them access to the salt shakers. Give them a couple of minutes to test their ideas. It’s okay if they don’t figure it out!
Then, demonstrate the real solution and have them try it:
- Set the piece of twine across the top of the ice cube.
- Sprinkle a good amount of salt directly on top of the ice and twine.
- Wait several seconds (up to a minute).
- Pick up the two ends of the twine and lift them into the air—the ice cube will lift right up with it!
At the end of this children’s ministry activity, say, “How did we get the string to stick to the ice? The secret was the salt! Jesus tells us in the Bible that we are the ‘salt of the earth.’ When we share God’s love with others, we can change the world by helping people know Jesus. Just like the salt changed the ice, you can change your school, your family, and your friendships by showing them Jesus!”
Tip for This Children’s Ministry Activity: If you have a large room or limited supplies, skip the partner activity. Instead, do this as an up-front demonstration and invite the kids to shout out their guesses while you test their ideas!
9. Craft: Paper Cup Telephones
Prep Time: 10 minutes
Supplies Needed: Paper or plastic cups (2 per kid), paper clips (2 per kid), yarn or string (at least 4 feet per kid), markers or stickers, thumbtack, scissors
Main Lesson: We can listen for God, just like Samuel did.
Remind the kids of the story of when God spoke to Samuel. At first, Samuel didn’t recognize God’s voice, but eventually, he said, “Speak. I’m listening” (1 Samuel 3:10). Explain that everyone will make paper cup telephones to remind us to listen for God, too.
Give each kid two cups and a piece of string or yarn. Help them thread the string through the hole in the bottom of each cup. To secure it, tie the ends of the string to a paper clip inside each cup. Let the kids decorate their cups with markers or stickers!
Show them how to use the telephones by partnering up and pulling the string tight. Have the kids take turns telling each other one thing from today’s Bible story that stood out to them, or a message from God they’ve heard.
At the end of the craft, say to the children, “When you finish talking with your partner, share whether it was harder to speak or to listen! Take your telephone home as a reminder that we can always listen for God.”
Tip for This Children’s Ministry Activity: Before the kids arrive, use a thumbtack to poke a hole in the bottom of each cup and pre-cut the yarn to save time and keep sharp objects put away.
10. Worship Response: Anointing Oil
Prep Time: Under 5 minutes
Supplies Needed: Clear jar or bowl, water, medicine dropper/syringe (or spoon), cooking oil (1 cup). Optional: food coloring, small notebooks, coloring utensils.
Main Lesson: God sees our hearts, sets us apart for a special purpose, and always hears our prayers.
Explain that in the Bible, Samuel used oil to anoint David as the new king of Israel. Anointing is a spiritual act where oil is poured over someone’s head to symbolize being set apart by God for a special purpose. When Samuel anointed David, David wasn’t yet a soldier or hero. He was a regular shepherd boy, but God saw his heart.
Remind the kids that they are special to God, too. Tell them you are going to drop oil into water and watch how it reacts. Quietly play worship music and use a medicine dropper to drop oil into the water. Or, invite kids to take turns doing this.
As they watch the oil and water react, encourage them to silently talk with God. Ask God to help them remember how He sees them and to look at other people’s hearts the way He does. Allow time for them to journal or draw their prayers if you provided notebooks.
As you wrap up this activity, you can say, “Did you notice how the oil floats to the top of the water? Just like the oil rises, our prayers rise to the ears of God, who loves us and always hears our prayers. Let’s pray: God, thank You for seeing us, knowing us, and choosing us. Help us open our whole hearts to You, and help us see others the way You do. In Jesus’ name, Amen.”
Tips for This Activity:
- If anointing with oil is a standard practice at your church, consider inviting a pastor or parents to join you during this response time to anoint the kids, reminding them they are loved and chosen by God.
- When working with older elementary school kids, provide small notebooks as weekly prayer journals. Let them decorate the covers and keep them in your room to use every Sunday!

Children’s Ministry Activity FAQ
What are the best activities for children’s ministry on a tight budget?
The best budget-friendly activities for children’s ministry use everyday household items or require no supplies at all. Zero-cost games like memory games and physical challenges keep kids highly engaged without spending a dime. For crafts and object lessons, inexpensive household items (like paper lunch bags, salt, and homemade bubble solution) provide impactful learning experiences that won’t strain a smaller church’s budget.
How do activities for children’s ministry help?
Effective activities for children’s ministry do more than just entertain. They are intentional tools to help kids grow. Here’s how they help:
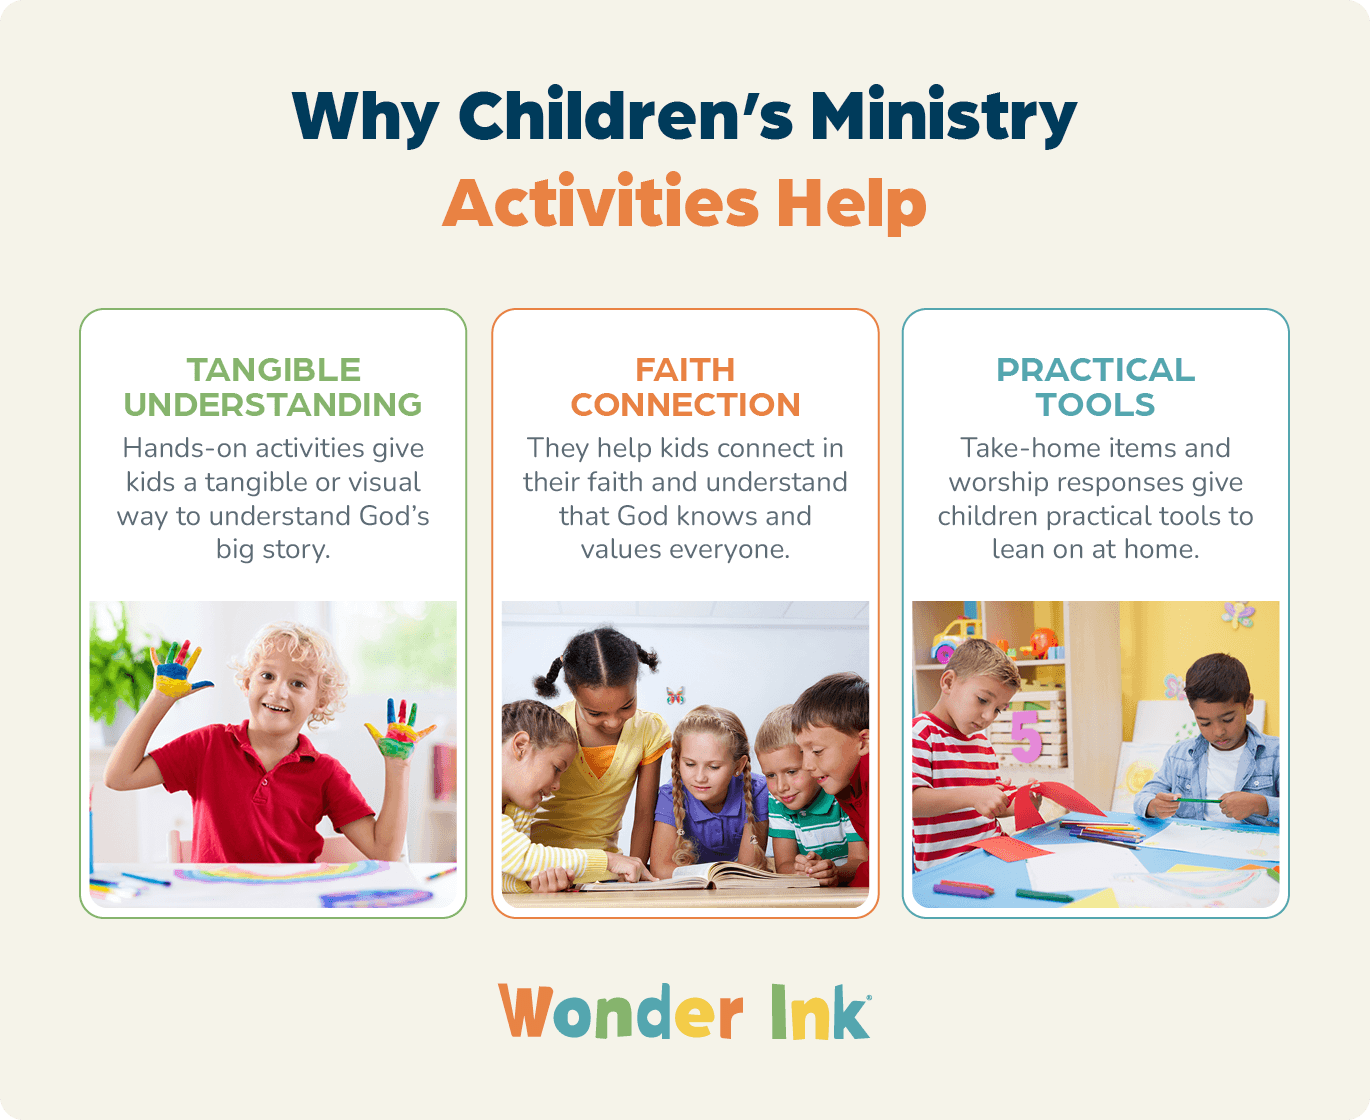
- They connect to God’s Big Story: Hands-on activities (like the STEM Bubble experiment) give kids a tangible, visual way to grasp big concepts, like the fact that God never changes.
- They foster community: Group games (like Name Drop) help kids and leaders bond by learning each other’s names, reinforcing the message that every child is known and valued by God.
- They encourage daily application: Take-home items and worship responses (like the Promise Bags) give children practical tools to lean on at home, showing them that faith extends far beyond Sunday morning.
How can I adapt children’s church activity ideas for younger kids?
To adapt church activity ideas for younger kids, you should simplify the instructions, remove competitive pressure, and focus on collaborative play. Instead of games with multi-step rules or strict winners and losers, break the activity down into a single, fun action. For example, if a game requires acting like one animal while sounding like another, allow children to simply pick one animal to mimic. You can also reduce the pressure by pairing them with an older buddy or an adult leader, so they can participate fully without feeling overwhelmed.
How much prep time is required for effective children’s ministry ideas?
Impactful children’s ministry ideas do not have to require hours of preparation. In fact, many engaging games and object lessons can be prepped in under five minutes. By relying on simple, low-prep activities (such as memory verse beanbag tosses or paper cup telephone experiments), leaders can spend less time gathering supplies and more time actually building relationships with the kids. Using a well-structured curriculum also helps eliminate guesswork and reduces weekly planning time.
Free Resources For More Memorable Lessons
Finding the right activities for children’s ministry is a huge step toward keeping kids engaged, but it’s just one piece of the puzzle. The ultimate goal is to help children understand the Bible and build a lifelong relationship with Jesus. Planning these impactful moments shouldn’t mean overwhelming your leaders or starting from scratch every week!
If you’re looking to pair incredible children’s ministry ideas with a deeply rooted theological foundation, we’re here to help. Wonder Ink curriculum is designed to give kids the space to fully find their place in God’s Big Story. Through a four-part lesson journey of curiosity, belief, faith, and identity, children discover that they are Known by God, Loved by Jesus, and Led by the Holy Spirit.

Curriculum Resources and Ideas
- Top 10 Reasons to Try Wonder Ink Children’s Curriculum for Free
- 5 Things that Make a Great Children’s Curriculum
- Why You Need to Make Sure You’re Using a Bible-Based Children’s Curriculum
- Wonder Ink Orientation
- Children’s Ministry Leaders Share Why They Love Wonder Ink
- Children’s Church Lessons: An Overview + Free Samples
Teaching and Leading Children
- The Ultimate Guide to 30-Minute Sunday School Lessons
- Known, Loved, and Led: Helping Children Know Who They Were Created to Be
- Bringing the Bible to Life in Your Children’s Ministry
- What If We’re Failing Kids at Faith Formation? And How Not To
- Moving Beyond the Behavior: Getting to the Heart in Your Children’s Ministry