

Picture this: You’re starting the lesson for today’s Sunday school or children’s church class, and though you’ve prepared as best as you can, your young students have their adorable heads in the clouds. If this sounds familiar, you’re not alone. We’ve worked with countless ministries, big and small, and distractions can be common in classrooms.
Even though the battle for attention will continue, there are fun ways to engage your students in Sunday school. One of those is by incorporating object lessons. In this comprehensive guide, we’ll walk you through everything you need to know about children’s ministry object lessons, including what they are, examples that you can try, and more!
- What are children’s ministry object lessons?
- Why do object lessons for Sunday school work?
- How do you teach an object lesson?
- Examples of children’s ministry object lessons
- FAQs about children’s ministry object lessons
- Wonder Ink framework: Curiosity as the first step

What are children’s ministry object lessons?
Children’s ministry object lessons use tangible items to spark children’s curiosity and wonder about spiritual truths regarding God’s Big Story. You don’t need any special tools to teach object lessons. Any familiar, everyday item will do, whether it’s a flashlight, a glass of water, or a tube of toothpaste. The idea is that these items provide a multisensory experience for the lesson, encouraging children to participate rather than simply observe.
In an object lesson, the item serves as a memory hook or a tangible idea that children can hold on to. Sometimes, this means that the object becomes a metaphor for a specific concept. For example, let’s say your lesson for the day is about how God is the light in our lives, especially when things get dark. This might be a hard concept for children to visualize on their own. So, to emphasize this point, you can turn off the lights in your classroom and turn on a single flashlight in the center. That flashlight serves as a metaphor for God in this lesson.
But items don’t always have to be metaphors; they can also be straightforward props. You can be telling a Bible story and use popsicle sticks or kids’ toys to stand in as characters. That will just be as fun and exciting!
Why do object lessons for Sunday school work?
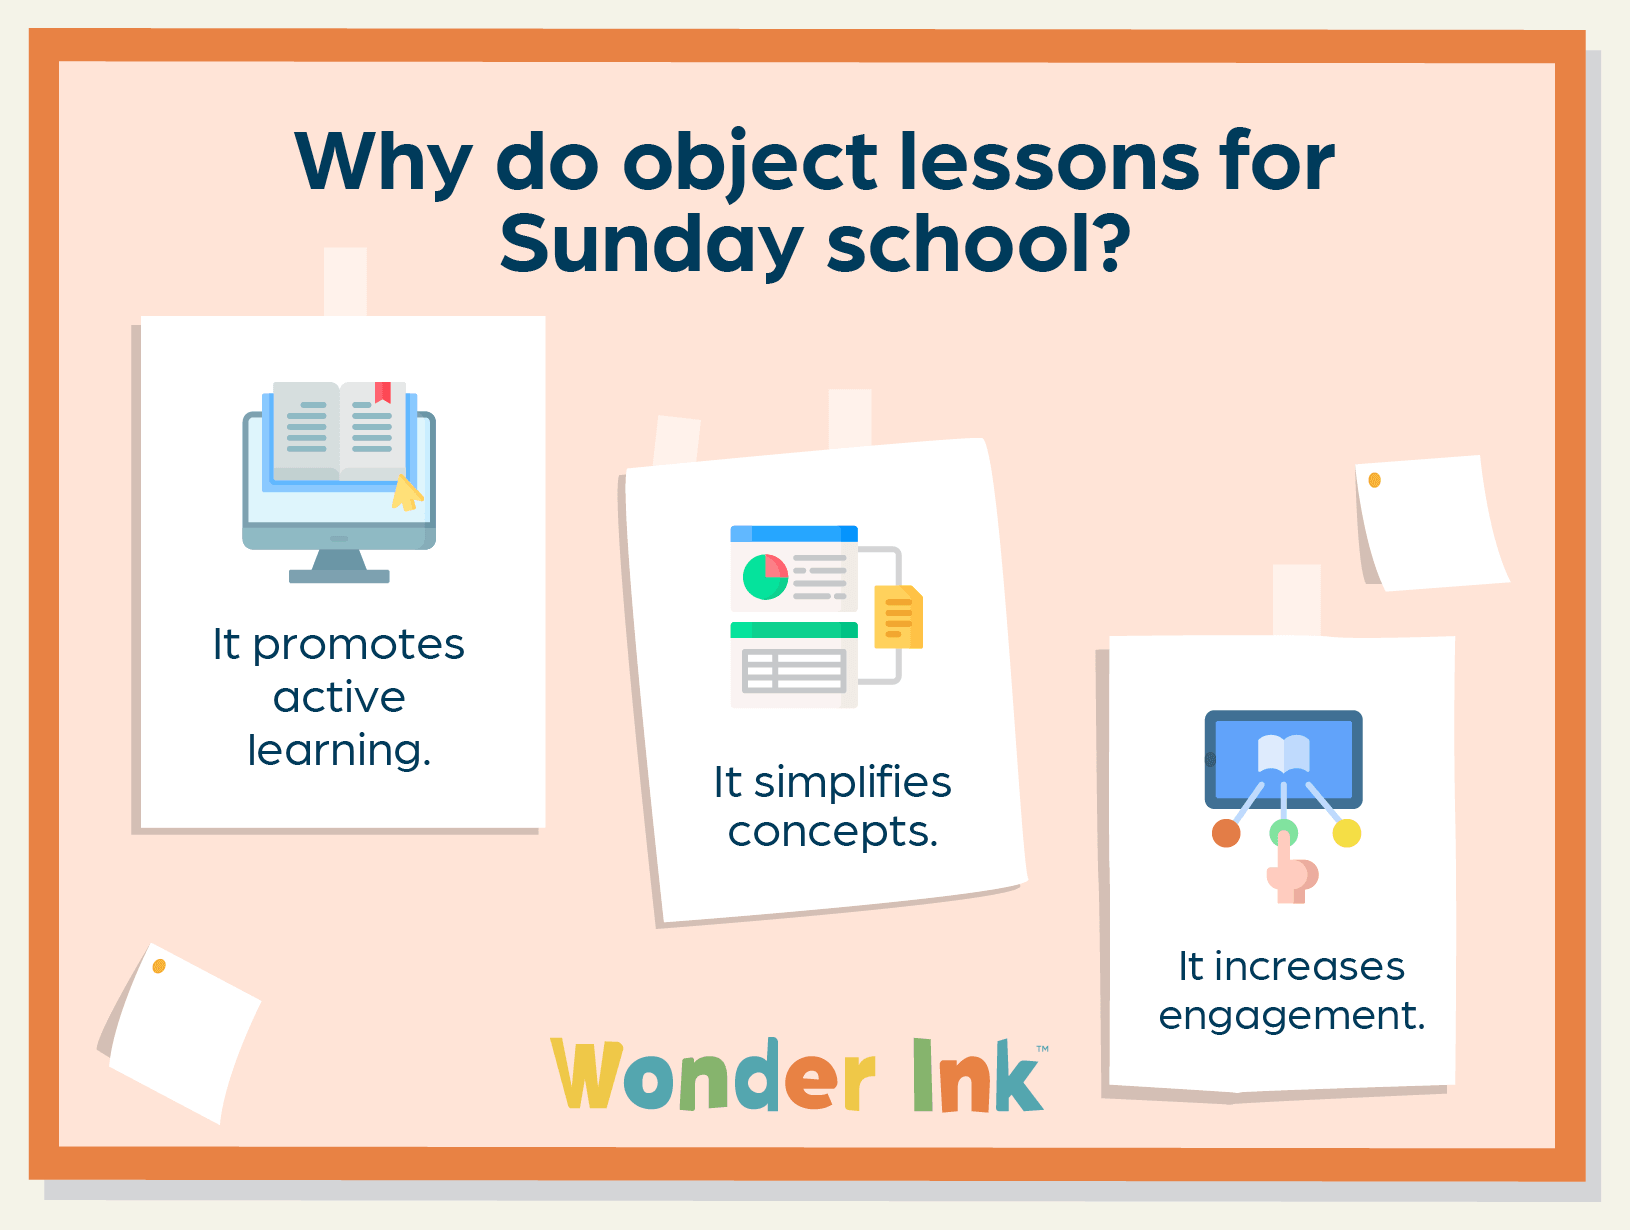
Doing object lessons for your Sunday school has many benefits, such as:
- Object lessons promote active learning, which, studies show, is an effective way to retain information. In fact, active learners reportedly retain 93.5% of information, compared to only 79% for passive learners! With object lessons, your students aren’t just hearing the story—they’re also seeing and experiencing it. It takes intangible ideas and makes them tangible. This engages them more fully, so they’re able to better remember the lesson.
- They simplify concepts. This is especially true if your students are preschool-aged. Little kids are smart, but some metaphors may be too complex for them to grasp without a visual, tangible reference. For instance, children may be initially confused if you simply tell them that “faith is like a plant,” but if you show a plant during a lesson, then plant it in a pot of soil, water it, and place it under the sun while everyone’s watching, they will begin to understand what you mean: that they will need to nurture their faith in order for it to grow. It might take time, but these ideas will take root as you make them approachable and understandable for children.
- They increase engagement. Kids are easily distracted, so skip lectures and invite them to participate actively. When lessons are fun and engage all of their senses, kids will be more excited to return to Sunday school and children’s church next week.
But most importantly, you should try object lessons in your Bible classes because it takes biblical lessons and makes them approachable. This way of teaching is a reflection of how Jesus taught. It’s a reflection of how God works! Since the beginning of time, God has revealed Himself through His creation, and Jesus has used objects to convey spiritual truths to the people of His time (think of the Parable of the Sower, in which the seed represents God’s word and the four types of soil represent how humans respond to it). So, we should take on that mantle as we share God’s Big Story with our children.
How do you teach an object lesson?
We understand that developing object lessons can be overwhelming; that’s why we already include them in our curriculum. If your current curriculum doesn’t account for object lessons, we’d encourage you to adapt. Here’s a step-by-step guide you can follow to approach adding object lessons:
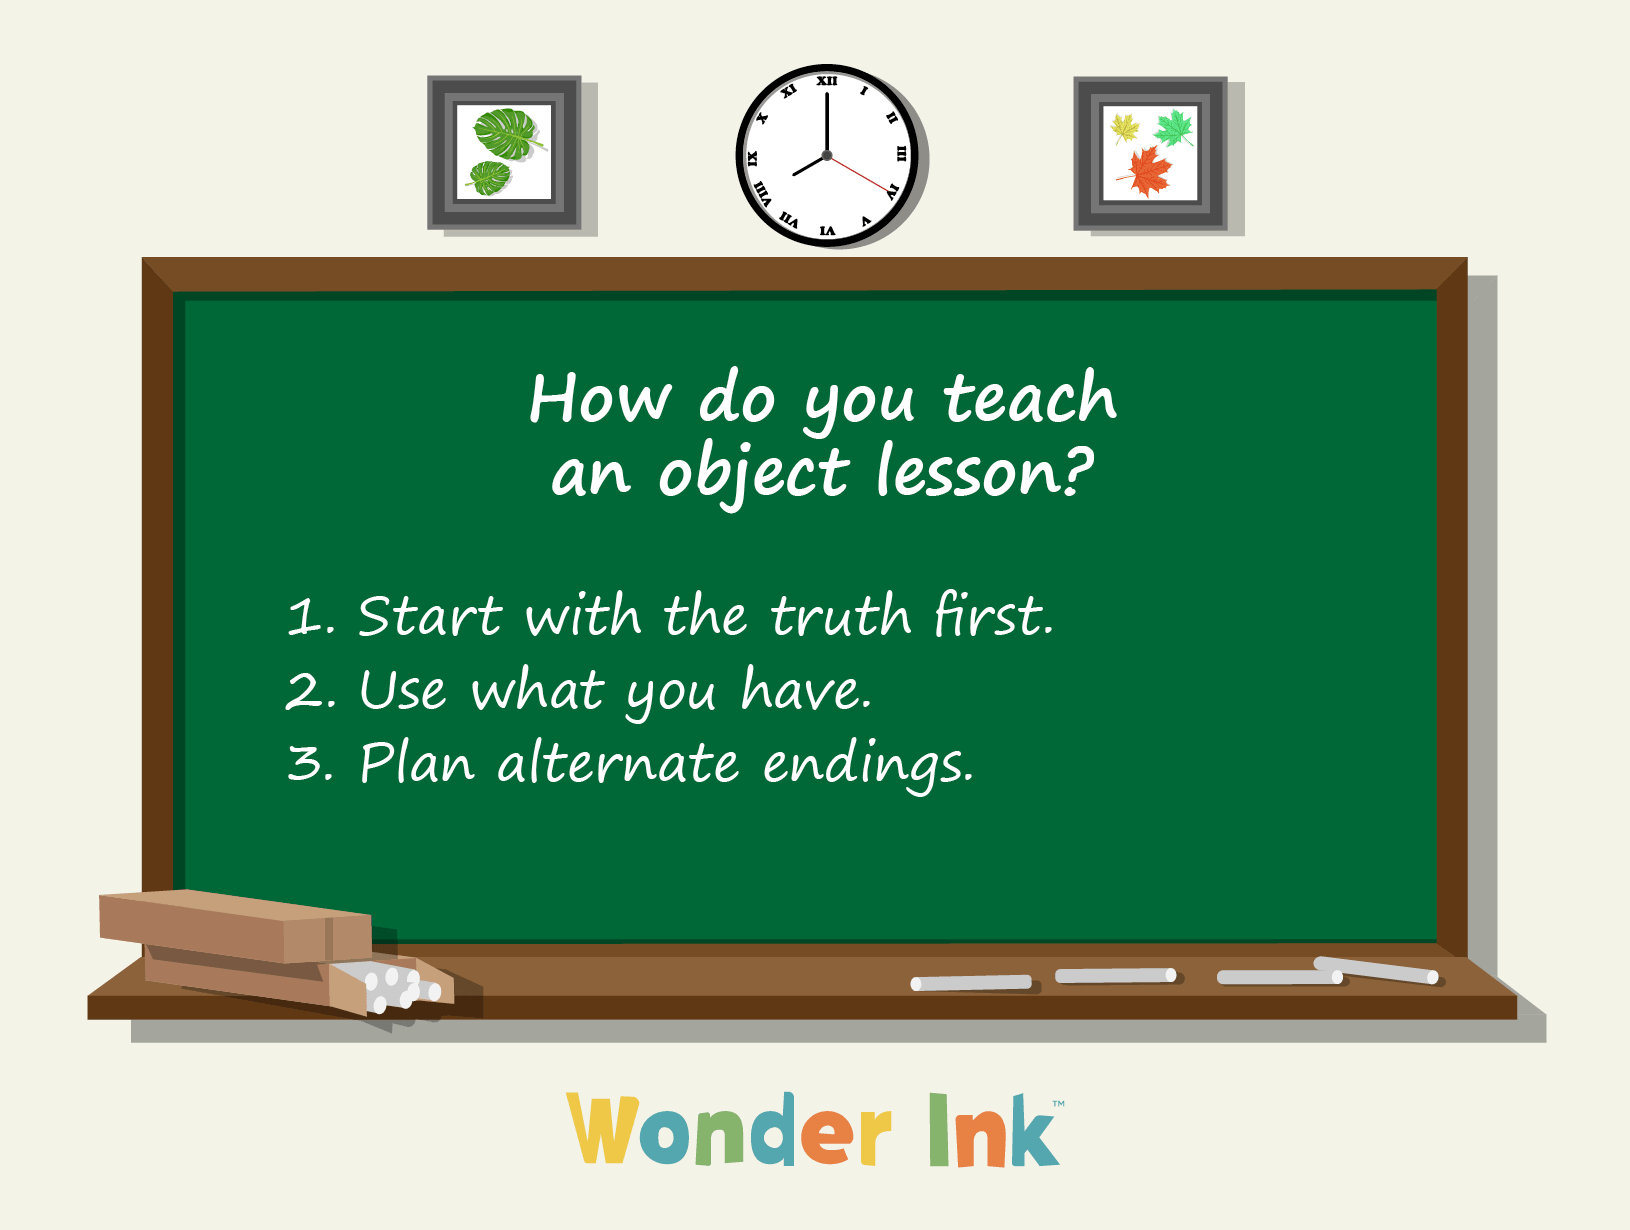
- Start with the truth first. Rather than starting with an object and reverse-engineering a story to go with it, lead with the Bible story you’ll be focusing on for that day, then brainstorm for possible objects that you can use to illustrate the truth the story is trying to impart.
- Use what you have. Take a look at the items you currently own or those in the classroom, and find ways to incorporate them into your lessons. Trust us, you don’t have to buy something shiny for object lessons; a little bit of imagination and creativity will do just fine!
- Plan alternate endings. Even if you’ve planned the object lesson to a tee, sometimes, it may not go exactly as you envisioned it. For example, you may use bitter chocolate to illustrate how temptation may appear appealing but ultimately delivers a harsh reality. But when you pass the chocolate around, one child says they like the taste. Instead of telling them they’re wrong, you can pivot by saying that the chocolate would taste even better if it were used in a brownie that everyone can enjoy. It’s important to have these alternate responses prepared so that you don’t get sidetracked during the lesson.
Of course, don’t forget to practice. If you think you’re going to struggle when doing object lessons, practice them with your fellow ministry leaders first. They can share insights and words of advice to help you improve. Or simply keep doing object lessons every week. The first few lessons may have some hiccups, but the more you do it, the better you’ll be, and in time, you’ll be an object lesson pro.
Examples of Children’s Ministry Object Lessons
Not sure how to get started with your object lessons? We’ve got you covered. Here are some of the object lessons that we and so many other children’s ministries have loved:
The Toothpaste Tube, Applesauce Pouch, or Sheet of Paper
- What You’ll Need: A full tube of toothpaste, an applesauce pouch, or a sheet of paper
- The Lesson: Ask a student to squeeze all the toothpaste or applesauce out onto a plate, then challenge them to try to put it back inside the tube or pouch. Alternatively, have them crumple up a piece of paper, and ask them to flatten it out completely, leaving no wrinkles. Explain that this demonstrates the power of our words. Just like the toothpaste and applesauce, once our words are out, we cannot take them back. And just like the crumpled paper, even if we try to smooth things over with an apology, harsh words can still leave a lasting mark.
- The Bible Story: You can relate this story to James 3:8–10, which talks about the power of our words.
Walking on Raw Eggs
- What You’ll Need: Several cartons of raw eggs and a plastic drop cloth
- The Lesson: Ask the children to remove their shoes and socks and walk on the open cartons of eggs covered by the plastic drop cloth. Thanks to physics, the eggs will support the kids’ weight, but the kids may not know that. They may be scared at first, but when realization hits, they’ll be amazed. Explain how this lesson shows that God sustains us even when our circumstances appear dire.
- The Bible Story: You can tie the kids’ expression of awe to Matthew 14, the story where Peter steps out of the boat onto the raging water and Jesus comes after them.
The Cut and Restored Rope
- What You’ll Need: A thick cotton rope and a sharp pair of scissors
- The Lesson: Instruct a student to cut the rope directly in half. Explain that this action symbolizes how our sin severs our connection with God. Then, tie the ends and pull the rope taut to reveal it restored. Explain that this mirrors the redemptive forgiveness that God graces us with.
- The Bible Story: You can connect this object lesson to the Parable of the Prodigal Son in Luke 15. The son’s rebellion deeply wounded his relationship with his father, but when he returned, his father forgave him and welcomed him with compassion, forgiveness, and full restoration to the family. Likewise, Galatians 4 teaches that God sent His Son to redeem us from sin so that we might receive adoption as His children and become heirs through Christ. Through Jesus, our broken relationship with God is restored, and we are welcomed into His family.
The Floating Ping Pong Ball
- What You’ll Need: A ping pong ball and a hairdryer
- The Lesson: Turn the hairdryer to its highest setting and point the nozzle straight up. Place the ball into the airstream, where it hovers like magic. Allow the children to pass their hands under the ball to prove no strings exist. Explain that this illustrates the invisible but real power of the Holy Spirit.
- The Bible Story: You can relate this to the Day of Pentecost in Acts 2, along with the Holy Spirit’s supportive role in Romans 8. In Acts 2, the disciples heard a sound like a mighty rushing wind before receiving power. We can’t physically see the Holy Spirit, but just as the unseen air holds up the ball, we can feel His support in our daily lives. Romans 8:26–27 reminds us that the Holy Spirit especially helps us when we are weak. When we don’t even have the words to pray, the Spirit prays for us. God, who knows our hearts, hears the Spirit’s prayers on our behalf.
The Unbreakable Balloon
- What You’ll Need: At least two balloons, a lighter or candle, and some water
- The Lesson: Blow up a regular balloon, then hold it over a flame—it pops instantly. Ask a volunteer to blow up another balloon, then pour a little bit of water inside it. Instruct them to hold this balloon over the flame—the water absorbs the heat, preventing the balloon from popping. As everyone is amazed by this trick, explain that this balloon is how God protects us. When life gets difficult, He is with us through the hard parts.
- The Bible Story: You can relate this lesson to the story of Jesus’ crucifixion. He died to absolve us from our sins, very much like how the water absorbs the heat from the fire to keep the balloon from popping.

FAQs about Children’s Ministry Object Lessons
What is the difference between an object lesson and a game?
Both games and object lessons are great for engaging our kids, but they differ in their approach. Games can point to the Bible story as well, but do so in a way where kids are actively involved in a structured activity with rules, goals, or challenges. Object lessons are used by the leader as you teach to reinforce the Biblical truth of the lesson.
How can object lessons prepare kids for Bible study?
Object lessons can prepare kids for Bible study by sparking their curiosity and prompting them to reflect on God’s wonder. The lessons also help kids better comprehend biblical truth, giving them a deeper understanding of God’s Big Story and how the lesson relates to their personal lives.
Are object lessons appropriate for all age groups?
Yes, definitely! Physical demonstrations during lessons work exceptionally well across all age groups when properly adapted. Just be aware of what each age group prefers. For example, toddlers may prefer simple tactile sensory bins, while older elementary students thrive on creative, more complex experiments.
What materials are best for Sunday school object lessons?
There’s no need to get fancy with every Sunday school object lesson. Common household items will do just fine. In fact, using common household items often yields the most profound theological connections for young children because they have these items at home. In addition to being accessible and relatable, everyday objects like water, ropes, and food coloring are inexpensive, so you can get them without much problem.
Always assess what you or your classroom has first before making any purchase. You can also encourage the kids to bring the materials to involve them more in the process.
The Wonder Ink Framework: Curiosity as the First Step
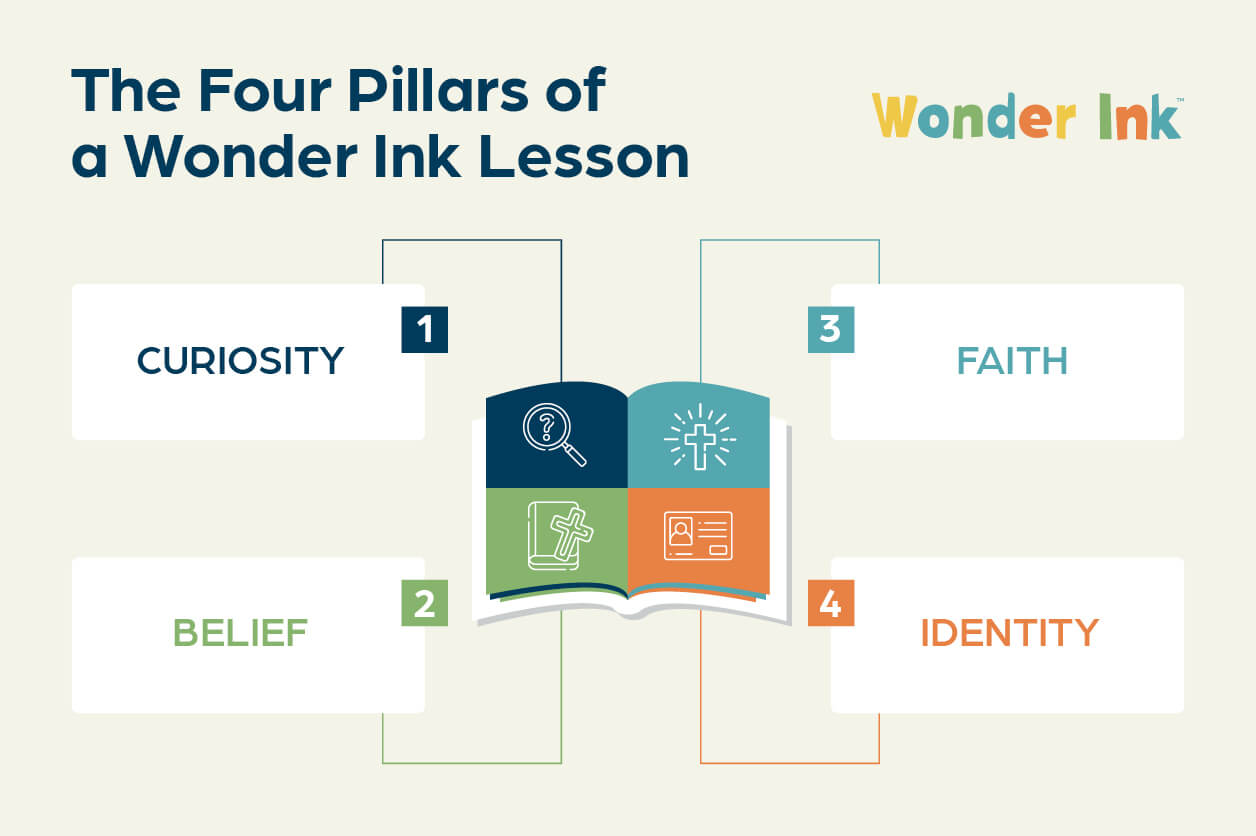
At Wonder Ink, we believe that object lessons are only the beginning. They fall under the Curiosity pillar in our scope and sequence (or child discipleship plan), which focuses on sparking curiosity and getting kids to think about the wonder of God. After the initial ‘spark’ of curiosity and wonder, you will move into three other pillars to complete the child’s Sunday school experience:
- Belief: A deep dive into Scripture that guides kids into knowing God, exploring His Big Story, and marveling at His wonder
- Faith: An intentional conversation that helps kids see the wonder of God’s Big Story and how it connects to their own
- Identity: An interactive worship response activity that creates space for God to remind kids that they are known, loved, and led
With our 3-year scope and sequence, you can be sure of the plan as you pour into children’s spiritual growth over time. Each weekly lesson already includes the four pillars, and since we understand that not every ministry is the same, we’ve made sure our curriculum is as flexible as possible! Whether you only have 30 minutes or 75, you can use Wonder Ink with ease. We also have curated resources available for you, and yes, that includes object lessons!
So, what are you waiting for? Try our customizable, Bible-centered curriculum, and transform your object lessons from a simple entertainment into powerful tools that help shape a child’s identity in Christ and establish a firm foundation for lifelong faith.
Next Steps
Do you think Wonder Ink is the right fit for your ministry? To get started, schedule a walkthrough of our platform to see how it all works.
In the meantime, check out our other resources:
- Why Giving Kids Opportunity to Wonder Is Important: Discover our philosophy on the importance of sparking curiosity in children.
- How to Choose Curriculum for Children’s Ministry + Top Picks: In this guide, we’ll walk you through the steps of choosing the right curriculum for your children’s ministry, plus some of our top picks to get you started!
- Children’s Church Curriculum for Small Churches: A Guide: Not sure how to get started with a children’s ministry curriculum for your small church? This guide is ready to help you.
- Help! I Don’t Know What I’m Doing (3 Quick Steps for Starting Wonder Ink): If this is your first time with our platform, this article provides three quick tips to make your experience seamless.